Purpose: program a G chip key for a Toyota
Model: Toyota Tacoma 2011
Tool option: Xtool D8 Bi-Directional OBD2 Diagnostic Scanner
Here are three keys which are the ones we’re gonna program.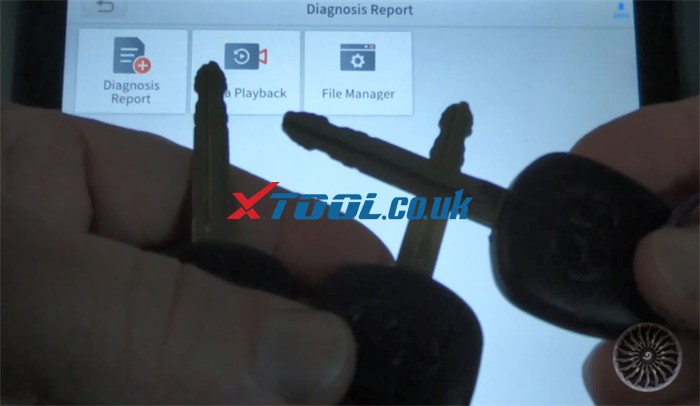
The original key is in the ignition and the truck is turned on.
The specific path:
Step 1: Erase keys
Go to Special Function>> Key programming>> agree to the disclaimer>> TOYOTA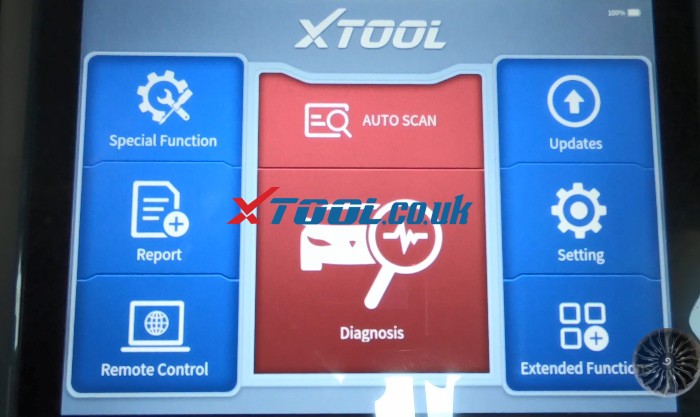
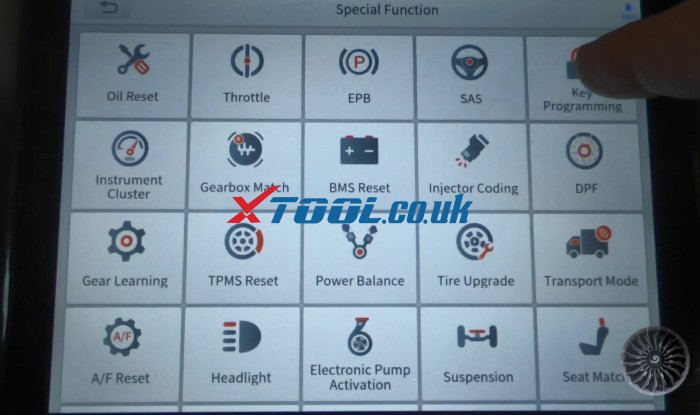
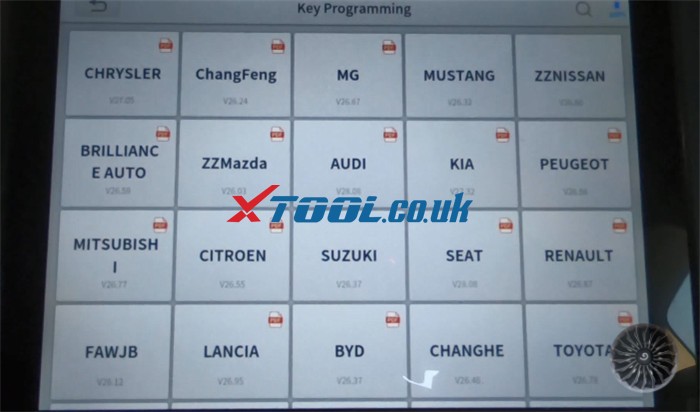
There are two methods to select vehicle
By type and By Vehicle 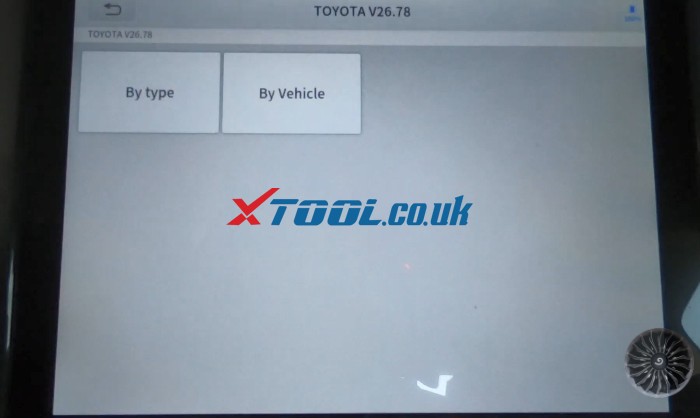
Method 1: By type
You can click By type if you know the type. Then select Immobilizer, you have got to know the type that you’re dealing with.
For example, we want to program a G chip key, then we can select “Type 3 (“4D” 66/70/72 “G”)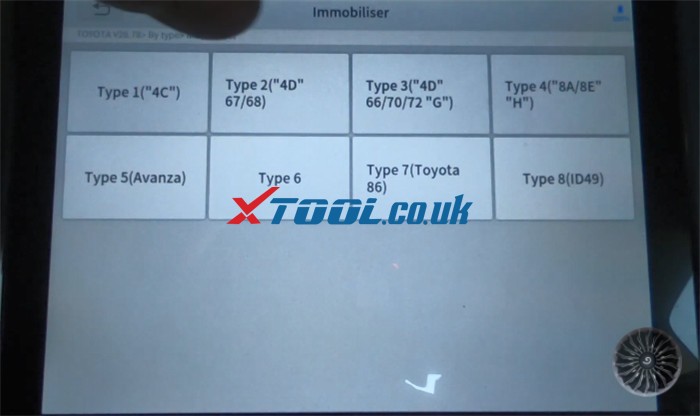
Method 2: By Vehicle
For this truck, we select Americas>> TACOMA>> 2011-2015>> Without smart>> Immobiliser>> Erase keys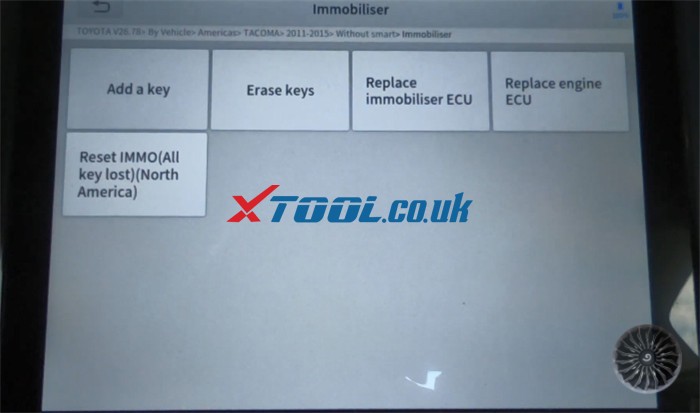 Read the note of Erase keys as below.
1 sub master key is needed to erase or add other keys.
How to identify a sub master key or valet key?
-Insert key into ignition, if security light did not flash, it is a sub master key; if it flash for 1 sex and then turn off, it is a valet key.
Then click “Yes” to continue
Read another note of Erase keys.
This method can erase all stored keys in memory except the sub master key that is in the ignition. Note: Each procedure must be completed within a specified time. Otherwise, erasing will fail. Then click “Yes” to continue
Perform the following operation within 120 secs, press “OK” to continue.
1.Remove the key from igniton
2.Insert a programmed sub master key switch ignition to “On” position
Then click “OK” to next step
Successfully erase the keys.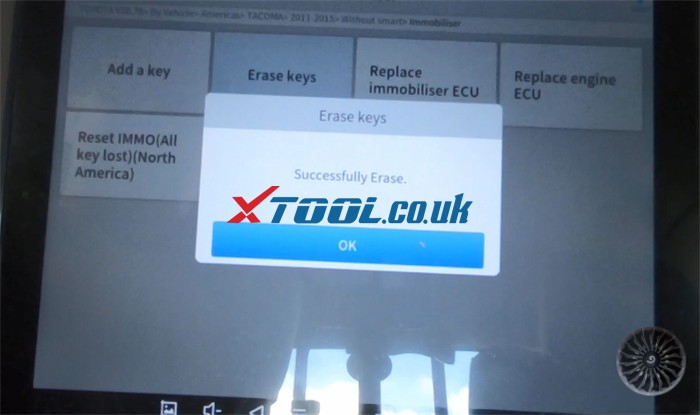
Step 2: Add key
Select Add a key
Read the notes same as erase keys carefully and click “Yes” to continue
Insert a programmed sub master key and switch ignition to “On” position, then press “Yes” to continue
Insert the key you wish to program and do not switch ignition to “On” position
Wait for the security light to turn off, and the program is complete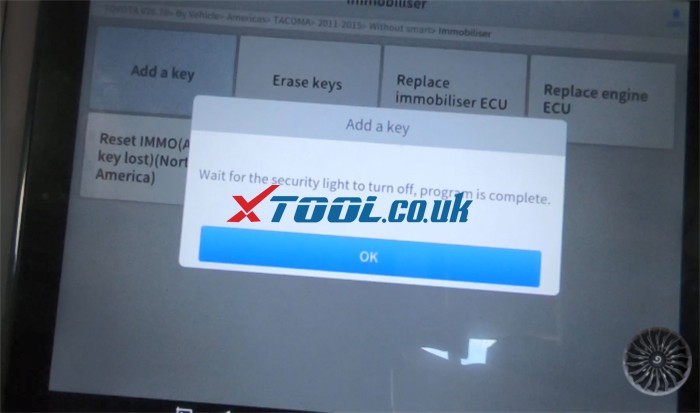 Repeat the same steps to add other two keys
Done!
Besides that, you also can use another path to program keys.
In the home menu, select AUTO SCAN >> USA>> Hydro Type Vehicle Stability Control (VSC)>> Confirm the vehicle info >> System Selection>> Immobiliser >> Read the note carefully >> Special Functions>> Transponder Code Registration>> Press “OK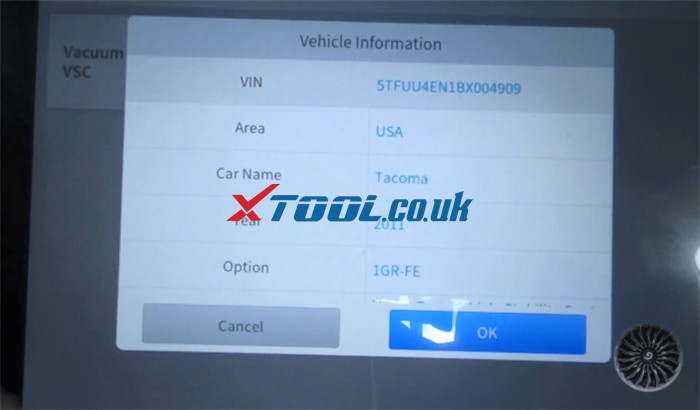
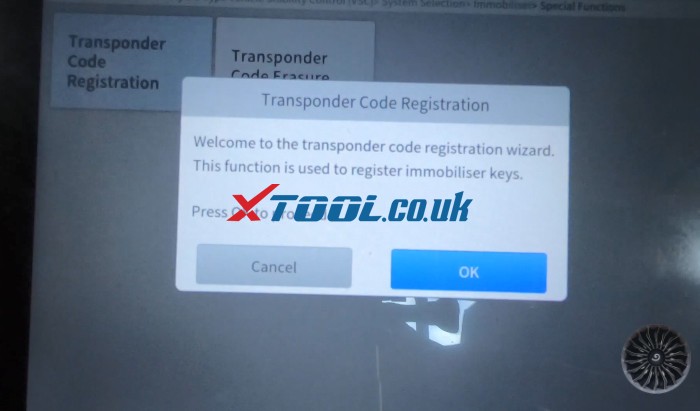
Complete all steps on the screen as below
Step 1: Perform the following operation
1.Remove the key from the key Cylinder
2.Insert the key back into the key Cylinder within 120 seconds, then press “OK”
Step 2: Remove the master key from the key Cylinder within 20 seconds, then press “OK”
Step 3: Insert the key you want to program with 10 seconds, then press OK. Do not turn the ignition switch on!
If it says the transponder code registration has failed, the reason is that the key is already programmed. If it wasn’t programmed, you will see a 75 seconds countdown and then it’ll say program successful.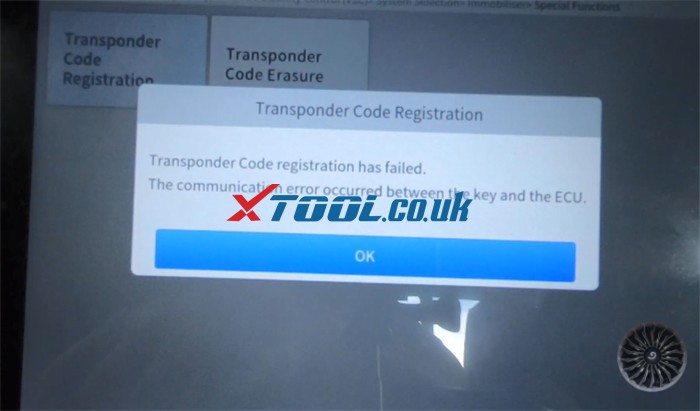
Press OK and insert a registered master key into the key cylinder and turn the ignition switch ON. If the ignition is already ON, please turn the ignition switch OFF, and ON again.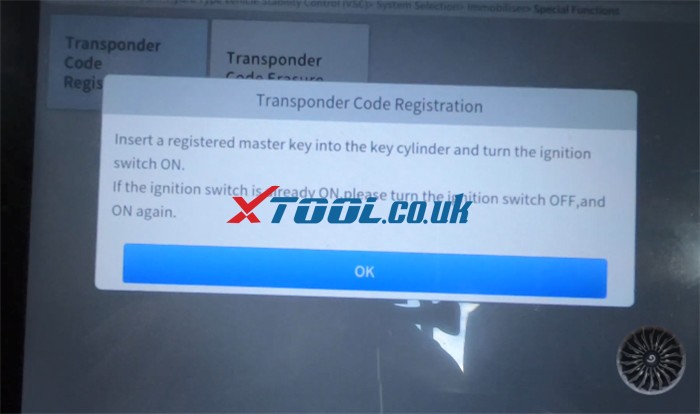
Alright! That’s the whole guide to program a G chip key for a Toyota Tacoma by using Xtool D8.
Thanks xtool.co.uk for making this tutorial :http://xtoolsupport.com/how-xtool-d8-program-keys-for-toyota-tacoma-2011/

没有评论:
发表评论